
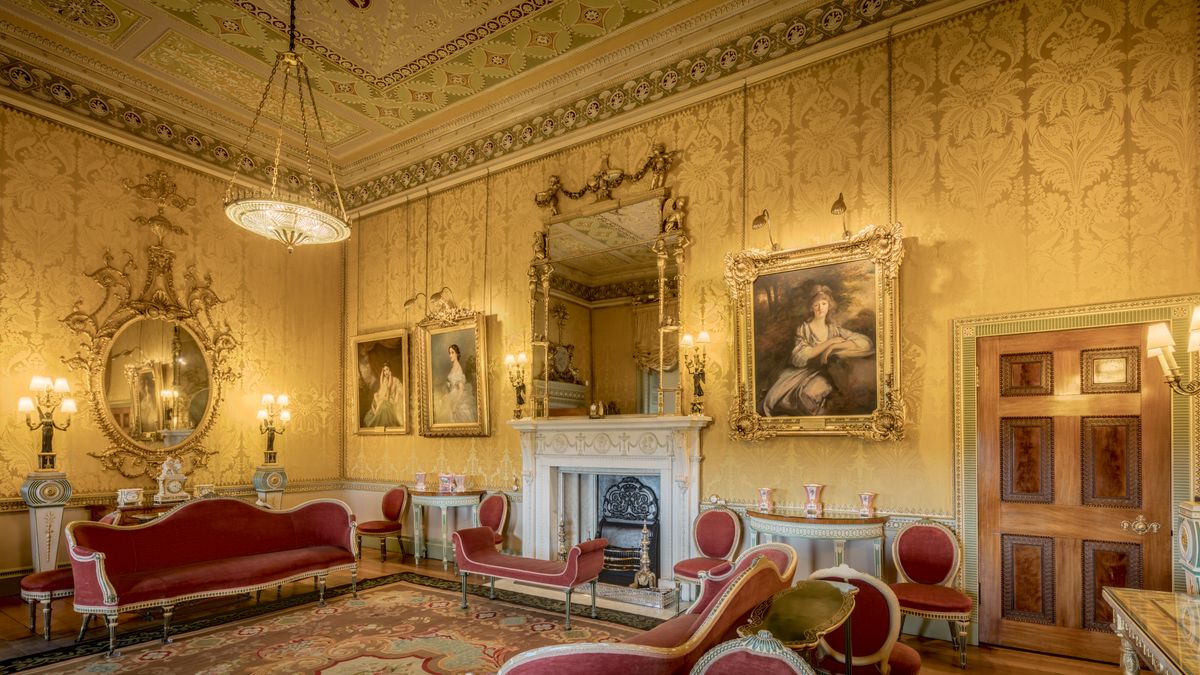
In period homes, chimney breasts create alcoves that are rarely symmetrical. Sloping ceilings, uneven plaster, skirting boards that don’t match, and cornicing that cuts across at an awkward angle — these are all part of the charm. The temptation is to box them in with standard units, but that often hides the very features that make the room special. A better approach is to work with the quirks, using simple joinery that follows the lines of the house rather than fighting them.
The goal is to make the space useful without losing character. Joinery that looks bespoke and intentional, even when it’s straightforward, will always sit more comfortably than a piece that ignores the architecture.
One of the most common problems is a ceiling that slopes down into the alcove. Standard horizontal shelves leave a triangular gap that collects dust and looks unresolved. Angled shelves, cut to match the pitch of the ceiling, turn that awkward corner into a design feature. They can run parallel to the slope, or step down in height to create a gentle cascade.
To get it right, start with a template made from cardboard or thin MDF. Trace the exact angle at both sides — they may differ. A scribe block or a simple sliding bevel will help transfer the profile to your shelf. For open shelving, choose a depth that leaves room for books or objects without protruding past the chimney breast. Adjustable shelf pins allow you to tweak heights later, which is useful if you change what you store.
Base cupboards are ideal for storing everyday items, but they can clash with original skirting boards and floorboards. Instead of cutting away the skirting — which can damage the wall and look messy — design cupboards that sit forward of it, or create a plinth that matches the skirting profile. A plinth height of 100–150mm often works well in period homes.
For alcoves with a raised hearth or uneven floor, low cupboards can be fitted with adjustable feet hidden behind a removable plinth. This allows you to level the unit without packing pieces that might shift over time. If you have cornicing, keep the top of the cupboard below it. A small gap can be filled with a simple moulding that echoes the cornice, or left open to let the original feature breathe.
Sometimes the best solution is not to add furniture at all, but to carve out space. If the chimney breast has a redundant flue or a blocked opening, you can create an open niche. This is particularly effective in alcoves beside a fireplace, where a shallow recess can hold logs, candles, or a small collection. The depth is usually limited by the chimney breast itself — often 100–200mm — which is enough for a row of paperbacks, a stack of magazines, or a small vase.
Line the niche with plaster or a contrasting material, and add a discreet light. If the alcove is deeper, combine a low cupboard with an open niche above. This gives you closed storage below and display space above, without a full-height unit that would dominate the room.
The joinery should feel like it belongs. For painted finishes, choose colours that complement the room’s architecture — a soft off-white, a muted grey, or a deep green. Avoid high-gloss unless the room already has that style. Timber choices matter too: pine and tulipwood are traditional and take paint well. Oak or ash can be left bare for a more contemporary feel, but be mindful of how they sit with original floorboards. If you’re matching existing woodwork, take a sample to a specialist.
Lighting can make or break alcove joinery. A small LED strip tucked under a shelf, or a puck light inside a niche, adds warmth without clutter. Use a dimmer if possible, and keep wiring hidden behind the joinery. A water-based eggshell is easy to clean and low odour, which is helpful in older homes.
Before you commit, measure everything. Check the width and depth at the top, middle, and bottom of the alcove — they will differ. Note the position of radiators, sockets, and light switches. If you’re not confident with angles, a local joiner can template the space and make units that fit perfectly. This is often cheaper than fixing a poorly fitting off-the-shelf solution.
Remember that alcoves are often the only place for a desk, a reading nook, or a bar area. Low cupboards can double as a window seat with a cushion on top. Angled shelves can hold a small library. Open niches can display treasures. The key is to let the architecture lead. Finally, don’t overfill. Leave some breathing room so the original features — the chimney breast, the cornicing, the skirting — remain visible. Joinery should serve the room, not hide it.

Hi, my name is Anthony kuber. I am artist and fashion designer.
I love to travel and writing blogging.
Your email address will not be published. Required fields are marked *
Software Developer & Writer
Hey, I'm Diva, a developer and writer blending code and creativity. I'm driven by a deep curiosity and a relentless pursuit of excellence. Join me as I craft digital solutions and captivating stories.


